Showing posts with label tea cozy. Show all posts

Thursday, February 23, 2012

Tea for Tuesday - Crochet Tea Cozy Tutorial Wrap-Up

So let's take our flowers and our "basket" and put them together to make something useful...


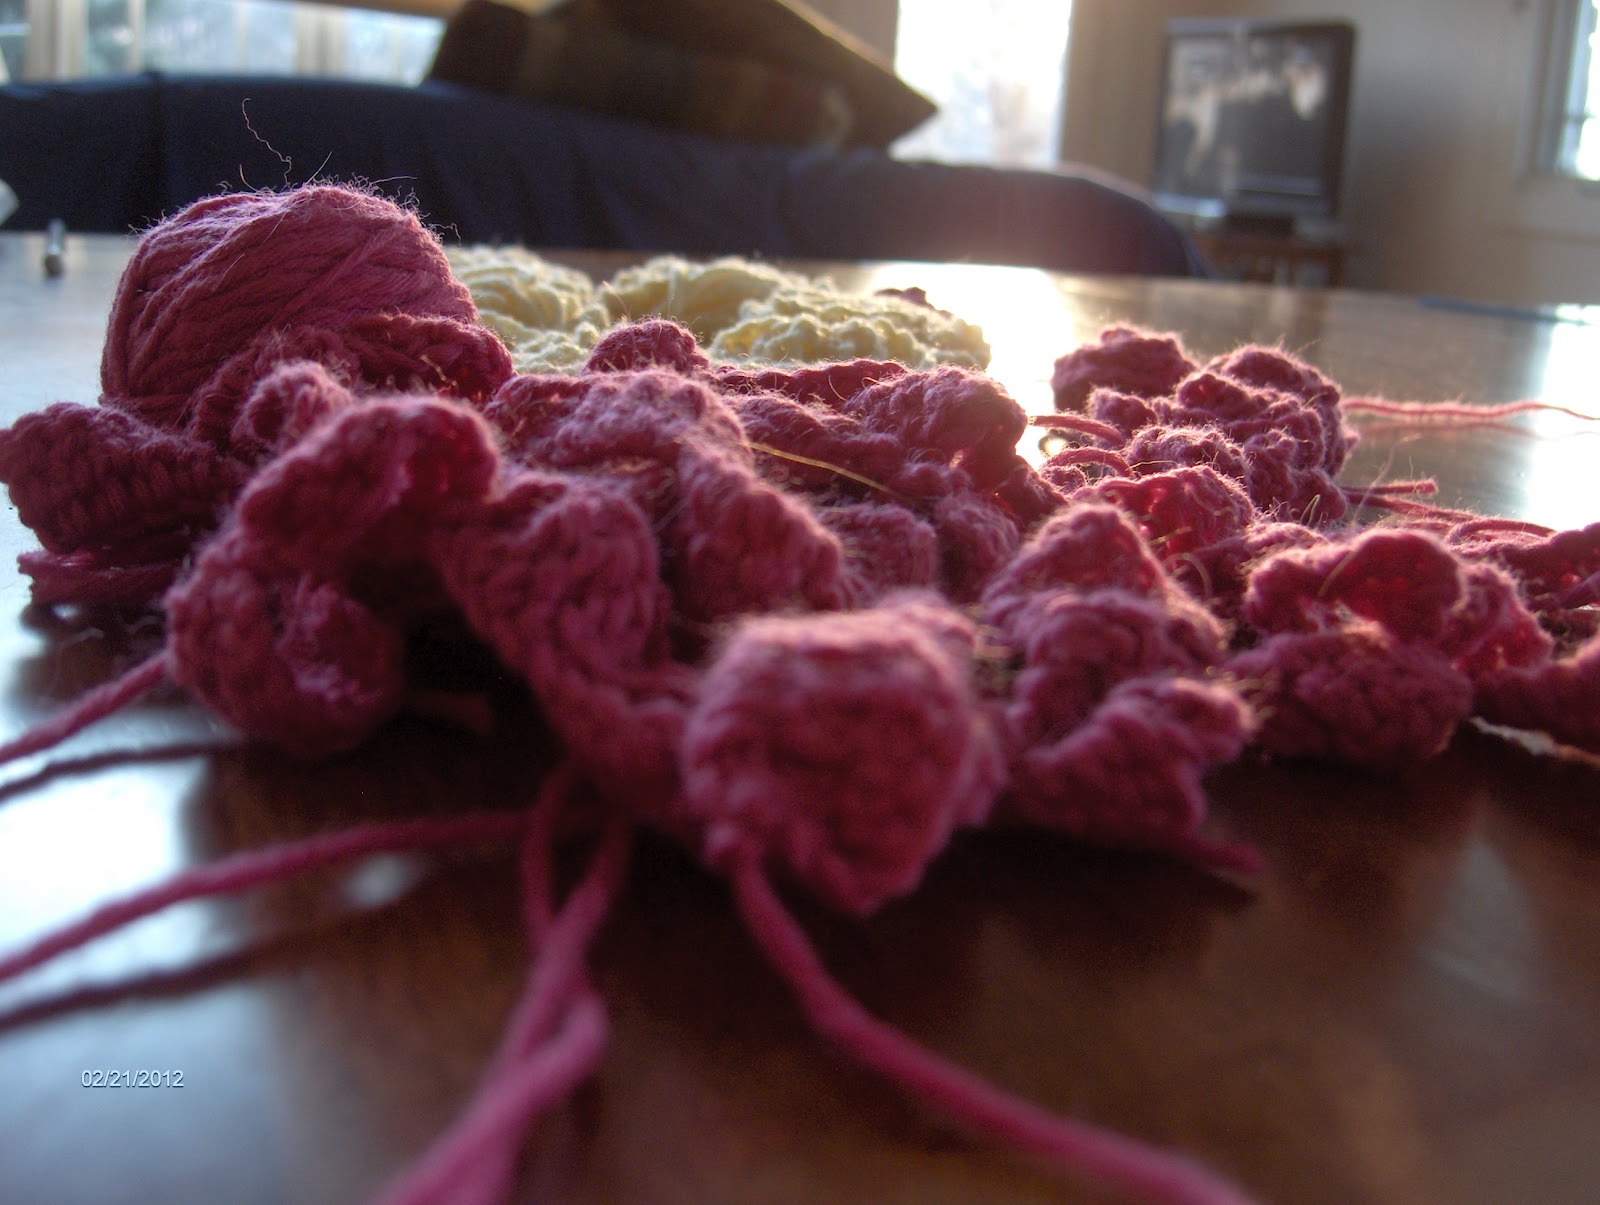
Had to share a really cool photo with you.  These are my flowers waiting to be stitched together, at sunset the other day (when the camera finally decided to start working again).
Let's get back to work on our tea cozy.  Go back to where we started so you can see the picture of the original, on the cover of the book we are using for our pattern.

And here's where I am going to differ somewhat from the pattern.  In the book, the pattern says to put your tea cozy together, then embroider your leaves and stitch on your flowers and the tab.  I have found for me, myself, personally, that it is so much easier to do this kind of thing when the base is flat.  Remember the hems on the pillowcases we used to make the Little Dresses?  They were way easier to press and stitch when the pillowcase was flat, rather than when it was in a tube.

To finish up, you will need some scrap green yarn from your stash, the same yarn you used to make your base pieces, a yarn needle, and scissors.

Choose one of the two blue and white "basket" pieces, and a small scrap ball of green yarn.  Cut off a good length of yarn, and thread your yarn needle.  Now this is a cool way to hide your ends while stitching either directly on a crocheted piece, or stitching something else to a crocheted piece (which we'll do in just a bit).  When you start your stitching, on the back side of the piece, use your yarn needle to pull the thread through a few of the stitches.  Just like you'd do if you were finished with something and wanted to hide that ending tail.

Here's how make a chain stitch to make the leaves.  Bring the needle up to the front side of the piece where you want the top of your leaf to be, then push the needle toward the back in the same hole.  Be sure to leave a loop like this.
To finish your leaf,  bring the needle up from the back again, towards the bottom of your loop.  Be sure to bring the needle THROUGH the loop.

Then, push the needle to the back again in the same hole, making sure that your yarn overlapped the original loop.
And this is what it looks like when you are done.
By working with bigger and smaller loops, and manipulating the yarn around the posts of the stitches, you can change up how your leaves appear.   Leaves in nature are like snowflakes, so your leaves can be individuals, too.  And remember, this is a visual interpretation of a leaf, so don't get too hung up on perfection.

Here's what it looks like when you have a few of them done.  Try to space them out somewhat evenly so they look balanced.
Work your way across this piece, then hide your end on the underside, just like we did at the beginning.  Do these same steps on the other blue and white piece.

Now this is where you can have some more creativity.  On one of your blue and white pieces, audition your roses.  You may be thinking "What?!"  Audition is a term that quilters and other crafters use when they are trying out (get it - an audition is a try-out?) different fabrics, fibers, etc. together to see how well they work.  If you followed the "How to Choose Fabrics" articles, and tried it for yourself, you were auditioning fabrics.
Here you can see the pink and green roses I made, and the pretty yellow ones that Princess made to help her mom.  Believe it or not, we both used worsted weight yarns, and the same size hook.  This is why, when you make a garment or something really big like an afghan, that gauge is so important.

While you are auditioning, you may decide that you want to add a color, rearrange your roses so they look more like a flower arrangement, or have other ideas.  This is the time to do it - before you start sewing and stitching.  We decided that even with 2 different colors of the green, the pink and yellow needed something more, so I added a dark purple.

If you need to, make a sketch of where you want everything to go.  Then, it's time to start stitching again.  Use the long tails of yarn on the roses to attach them to the base.  When I did mine, after I hid the beginning end under a few stitches, I made a simple knot, just to be sure that the weight of the flower didn't pull out my sewing when the tea cozy was vertical on a tea pot.  Stitch your roses on however works best for you.  I ended up using quite a few different ways, so use whatever works.  This is what mine looked like when I was done sewing on the flowers.
Repeat on the other side.

Let's stitch on the tab, too.  Using a double strand of yarn, thread the cut ends through the eye of your yarn needle.  Like this:
See how this makes a loop on the end?  We are going to put that loop to good use!

Fold your tab in half, wrong (back) sides facing.  Match the ends to the center of one of the base pieces for the tea cozy.  Insert the needle through the first stitch, and pull the yarn almost all the way through.

Hook the loop over your needle, and pull tight.


Now you have a secure attachment.  I used a basic whip stitch (over and through - repeat) to secure my tab to the tea cozy, and I went through each hole twice, just to be sure.  When you are done, weave your ends in on the underside of the base, and cut your yarn.

Time to stitch everything together!  Yay!

In the book, Ms. Trench says to do this with right sides facing.  With the bulk that the roses add, it's pretty tricky.  I just held mine together, wrong sides facing, and right sides (front) out.  Again, we'll use just a basic whip stitch.  And again, cut a length of yarn that matches the bottom color of your base.  Thread the cut ends through the needle, just like we did for the tab.

Hold the base pieces together, and insert your needle through the bottom two stitches (one stitch on Side A and one stitch on Side B).  Secure with a loop, just like we did for the tab.  Whip stitch up the side to your first safety pin, working in the spaces between the rows of crocheting.  Do your best - it's not always easy to see where to stitch.  I stitched each space twice just for safety's sake.  Make a small knot, and thread your ends under stitches on the inside.

Now change your yarn to the top color.  Stitch around and across, from safety pin to safety pin.  If needed, use the safety pin from the bottom section to help hold your corner - I did.  Just remember where your openings for the handle and the spout are supposed to go.
safety pin helping to hold pieces together at corner

When stitching across the top by the tab, I found it helpful to stitch around the posts of the stitches.  Like where you would insert your crochet hook, instead of over the top.

Then just keep working your way around.  Remember to change colors when you get towards the bottom.

And here's what it looks like when you are all done.
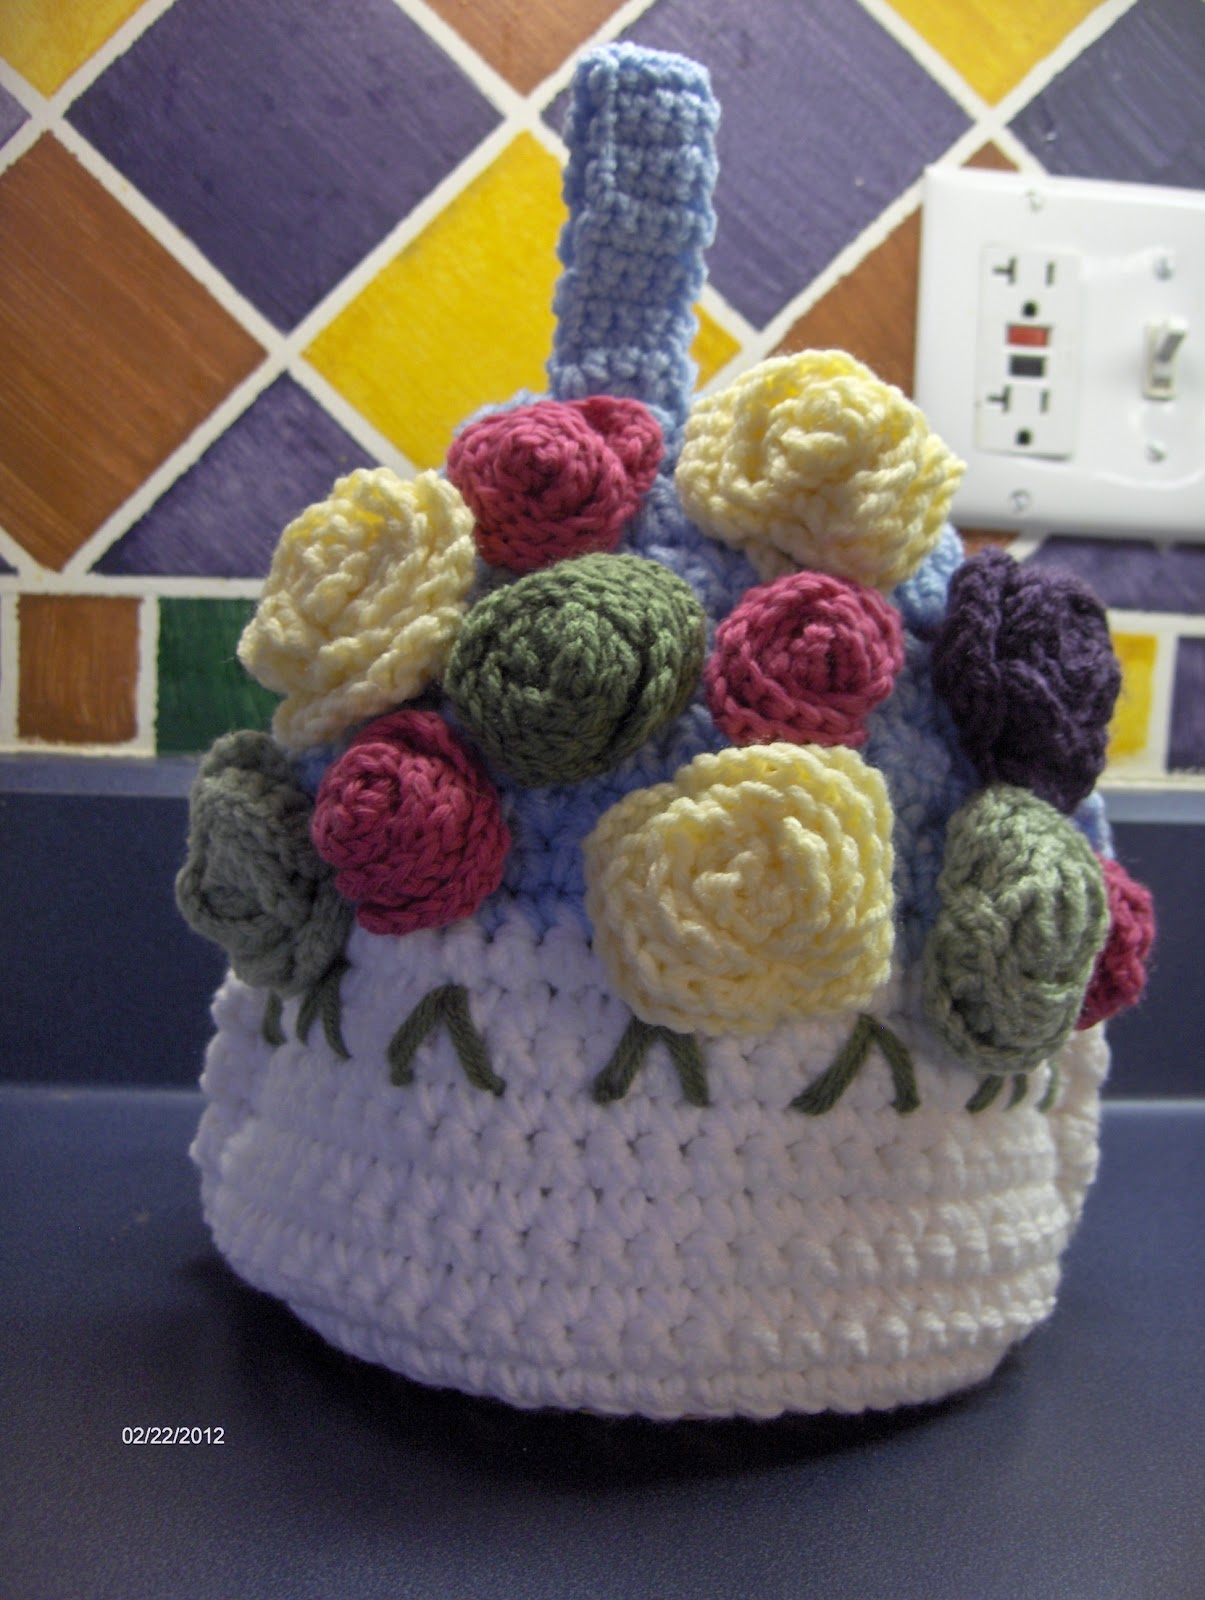
I'm going to make some little white roses and use them to fill in the holes - kind of like baby's breath.  You can add more flowers to yours, too, if you want or need to.

This would make a lovely neighbor/MIL/SIL/teacher/scout leader gift!

Enjoy your new tea cozy!

Photobucket

Tuesday, January 31, 2012

Tea for Tuesday - Crochet Tea Cozy Tutorial

Today we're learning how to decrease for crochet, and start a really cute flower basket-type tea cozy...


The pattern we will be using is from Cute & Easy Crochet by Nicki Tench, and it starts on p. 92.  If you don't already own this book, you should pick it up.  I got mine at JoAnn's with a 40% off coupon, and I used my teacher discount.  I'm sure you can find it online as well.  There are lots and lots of really simple patterns in it, they are are all meant to be quick and easy, and yes, they are all quite adorable.  Many of the patterns call for little bits and bobs of color, so they are a great way to use up stash yarn.

So let's get started...

You can use the yarn the pattern calls for, or something of a similar weight.  I don't have wool yarn (I'm allergic), so I used two strands of regular worsted weight acrylic in a white and a pale blue.  I will also be using yarn from my stash for the roses and the leaves that are stitched onto the "basket".

For the two colors of the base, make 2 balls of yarn because you will be working with two strands throughout.  Choose one color to be the "basket" and the other to be the "filler" behind the roses.  You can use your stash to make the flowers as in the picture in the book, you can make them all one color, you can make them shades of the same color - use your imagination!

You will also need size F(5/4mm) and J(10/6mm) hooks, safety pins, and a yarn needle.

Today, we're just going to work on the base of the tea cozy.  I know you're busy, and don't have a lot of time, so we're going to break this down into some evening-size, manageable pieces.  We're also going to notch up your crochet skills a bit by learning to decrease and change color.  Next week, we'll learn some new stitches - don't worry, they're very easy.

With whatever color you choose to be the base of your tea cozy (now referred to as color A) and two strands of yarn, chain 29 with the J hook.  Measure to see if this will go round your tea pot.  Twenty-nine was fine for my tea pot.  Yours may be smaller or larger.  Feel free to add chains or make fewer chains.  Then, following the pattern, sc in second ch from hook, and each ch across.  Ch 1, turn.  Work rows back and forth until piece measures 2 1/2" (6.5 cm).  For me, this was 8 rows.  For you it may not be.  The important thing is to keep your tension even to be sure your stitches are all nice and even.  Ch1, turn.


Here is where we work the decrease.  Basically, a decrease is combining two stitches into one.  Yep, it's really that easy - let me show you.  Insert your hook into the first stitch and pull up a loop.

Just keep that loop on your hook for a moment - we're not doing anything with it quite yet.  Insert your hook into the next stitch and pull up another loop.

Now, the final step:  yo, and pull through all 3 loops on your hook.  See how it combines the two stitches into one?
Continue across the row in sc, until the last 2 stitches, then work another decrease.  It will look like this:
And here is where we will work the color change.  Go ahead and ch 1, like you are going to turn.
Pull on the loop, to make a very large loop.

Snip the top of the loop with scissors.
Remove the ends that are attached to the balls of yarn, and pull the ends on your piece tight.

To add the new color, insert your hook into the chain space.  Pull up a loop of Color B.
Ch 1 with color B, turn, and continue to work the pattern as directed in the book.  Be sure to keep your ends on the wrong side (back) of your piece, and crochet over them to work them in.  When you get to the top of the base, it will look like this:
Now, make one more, so you have 2.  Hold one of them up against your tea pot (I used my little kettle), and mark where your openings will be for the handle and spout with safety pins.
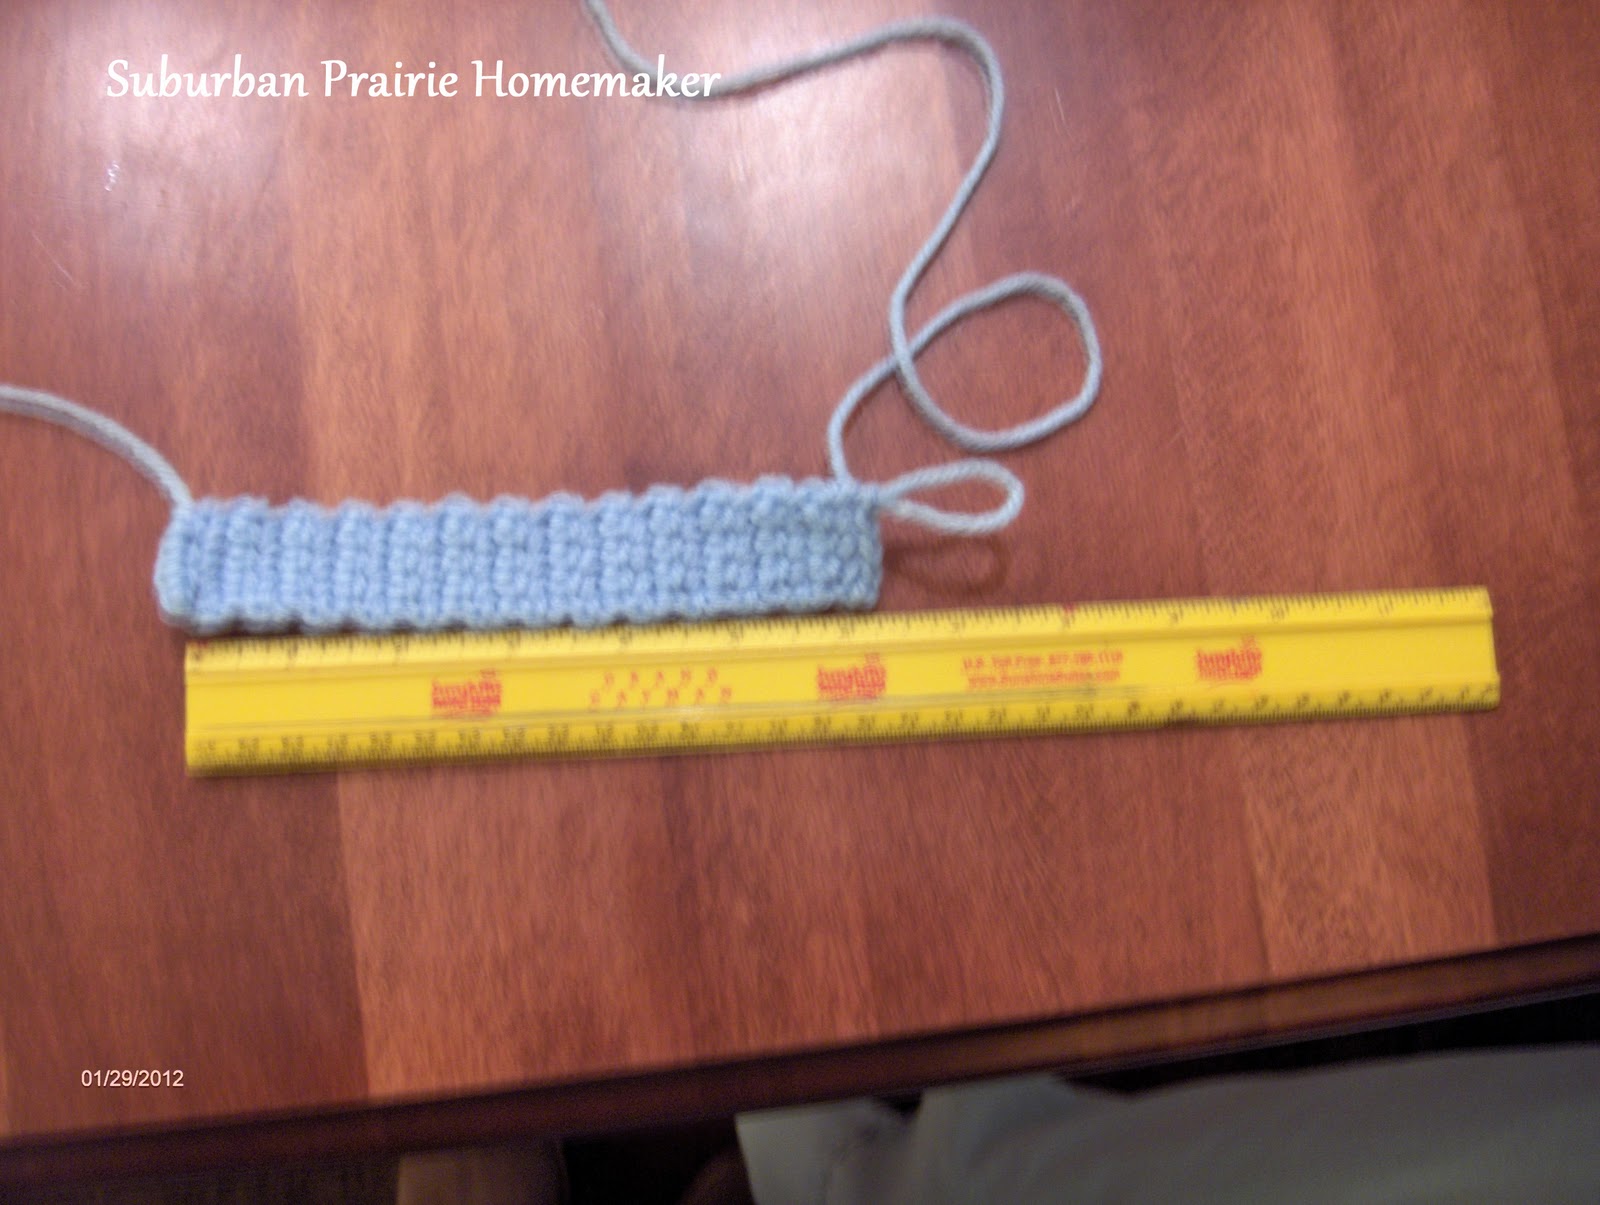
The last part of today's tutorial will be the little tab at the top.  You will only use one strand of yarn, in color B, and the size F hook.  Very simple - make a chain of 5 stitches, sc in 2nd ch from hook and across, to make 4 stitches. Ch 1, turn, and continue back and forth until your tab is 6" long (approx. 15cm).

And that's where we'll stop for now.  We'll make the flowers and get the whole thing put together next Tuesday.  Also, tomorrow, I'll be starting a ***FANTASTIC GIVEAWAY***!
Photobucket