Showing posts with label yarn. Show all posts

Sunday, March 25, 2012

Crocheted Butterflies

Another beautiful butterfly for The Butterfly Project!


One of the joys of doing the blog-hops is finding the real gems.  The day I found this one, I actually was praying about some other variations on a butterfly that we could do for the Craftivism Challenge.  And there she was, my beautiful creative angel, Marie.  You DEFINITELY need to check out her blog - she has all kinds of really amazing patterns, including several butterflies!  This is the pattern she wrote down for our butterfly, in UK crochet terminology.  And here's my tip if you are a crocheter in the US.  Copy, paste, find, replace.  Yes, it's a mnemonic.  Mnemonics make life easy.  Copy the pattern, paste it into a word processing program, find the UK terms and replace them with US terms.  Seems simple enough, right?  It is.

For the little beauty above, I copied the pattern from Marie's blog and pasted it into Word.  I also took out most of the photos, because I just needed a photo of the finished product to gauge my progress.  I clicked the "replace" button (which automatically finds and replaces), and started with the abbreviations.  I substituted sc for dc, then dc for tr.  Then I substituted for the words for these symbols (single crochet, double crochet).  In three easy steps I converted this fantastic little pattern into my own crochet language.

So let me share with you how I made my butterfly from Marie's pattern.  If you click through, you'll see how to start a pattern with a "magic chain".  Since I know we have several beginners, we'll start with what we already know from our own projects here.  If you want to give the magic chain a go, feel free.  It's not that difficult (or at least not as hard as most people think it is).  And once you learn it, it's another tool in your crochet tool belt.  In this case, I chose to do the chain option.

I used a worsted weight acrylic yarn with a J hook.  Marie used a sock weight yarn with a 1.75 mm hook.  You can make these with any size hook and yarn your heart desires.  When you check out her pattern, you can see that with a smaller hook and finer yarn, the butterflies develop a very lacy quality.  And before I forget, a yarn needle is a must!

Here we go!

Chain 6.

Insert hook into the very first chain.

Yarn over (yo), and pull that loop straight through the chain on your hook.  You just made a slip stitch (sl st).  And you made a ring.

If you feel confident reading the pattern from here on out, go for it.  If you've played along at home, you know how to read all the abbreviations.  Aren't you proud of yourself?!  One of the biggest hangups people have about crocheting and knitting is reading a pattern, and you can do it.  You are a crocheter - hear you roar!  If you're feeling a little less than confident (it is Monday, after all), we'll start together on round 1.

Chain (ch) 3.  Make 2 double crochet (dc).  This makes the first of 8 clusters that will go in this ring.  Instead of inserting your hook into the chain itself, insert it into the open circle part of the ring.  When you are done with those 2 dc, ch 2.  This will act as your space between these clusters.  3 dc, ch 2 around until you have 8 clusters total.  This is what it looks like going from cluster 1, which starts with the chain 3, and ending with cluster 2, which is a 3 dc cluster.
Two down, 6 to go.  Remember to do the ch 2 in between each of the clusters.  End with a ch 2, and sl st into the top of that first ch 3.
On to round 2.  This is my little variation here.  When you make the ch 3 to start round 2, turn.  Yep, turn.  Most of the time, when you work in rounds, you work continuously in one direction.  I found things worked better if I turned at the beginning of the round.

For round 2, you are now going to turn those clusters into shells, which will double the number of stitches.  This will also make your piece get ruffly.  Ruffly is good.  Ruffly will get your piece to fold in half when you are done to make that gorgeous butterfly.  By the way, you'll get ruffly any time you double the number of stitches from one row to the next, whether it's in the round or straight, sc, dc or something fancier.  Just be aware.  So here's the start of row 2 so you can see how the 3 dc, ch 2 works up into the shells.
In the first ch 2 space, after you've done ch 3, turn, make 2 dc.  Ch 2, 3 dc.  Ch 2, then make what I call the shell:  3 dc, ch 2, 3 dc.  Make one shell in each of the ch 2 spaces in round one, and connect them with a ch 2.  You should then have 16 (3 dc) clusters.  When you get all the way around, ch 2 and sl st into the top of your original ch 3.
See the ruffliness I was telling you about?

And guess what you'll do next?  You're right - ch 3, turn!  You are getting so good at this - you are thinking like a crocheter!  Woo Hoo!

Let's finish up round 3.  After you ch 3 turn, work 7 dc in the next ch 2 space.  No ch 2's this round - nope. These are going to be another variation on a shell, with many dc's worked into one space, and then anchored in the following (or other designated) space.  When you've made your first shell (your turning chain and the 7 dc), sc in the next ch 2 space.  Marie used sl st.  Use whichever works best for you.  Just don't use anything bigger than an sc, ok.  Size does matter in some cases.  This is the shell...
and this the anchor stitch (remember, I used a sc and Marie did sl st).

See how that stitch holds that last end in place and makes a firm foundation for the next shell?  So keep working the 8 dc in a ch 2 space, then a sl st/sc in the next ch 2 space, all the way around.  It will look something like this.
She really REALLY wants to fold up into a butterfly!  Finish off, and leave a loooooong tail.  You will be using this tail to sew the halves together.  Wrestle your ruffles, until you fold the flower shape in half, with the top half matching where the tail is at the bottom.  This is what I'm calling the front.
And this is the back.
I wove my yarn up through the center to the top, then wove it back down again.  I tried to keep my stitching as inconspicuous as possible.  That's one nice thing about the variegated (multi-color) yarns - they tend to hide within themselves pretty well.


I made a few overcast stitches through the tops of the dc's to secure it, then wove the end in on the underside between the wing sections.  Then, I trimmed it.

To make the antennae, I used a G hook, and chained 25.  Then I worked one row of sc back to the beginning and finished off.  Since I don't know how the museum intends to hang/mount the butterflies, I wanted to be sure the antennae had some stability to them.  Make sure to weave in the ends.
Cut a length of yarn about 18".  Thread the yarn needle with it, and keep the needle standing by.  Fold the antennae piece in half, matching the center to the center of the top of the butterfly.  Starting fron inside the wing, weave the needle/yarn through the back side of a few stitches, then bring it to the outside.  Go through the top loops of the antennae piece to attach it.
Continue working across, stitching where you can.  Try to keep your stitches as hidden as possible.  Big word for the day: unobtrusive.  Finish off when you get across the other side, leaving as much of the antennae free as you wish.  Be sure to weave in the ends on the underside of the wings, and trim.

Try making these with a size 10 crochet cotton and a 1.50 mm hook.  Make them with a bulky yarn and a P hook.  Make them with anything and everything in between, and don't forget to send them off to the museum!

And also, be sure to stop by Marie's blog and check out all her wonderful patterns.  I'm heading back there myself to find a few more butterflies.  Leave her a comment thanking her.

Have fun!

Photobucket

Saturday, February 18, 2012

February Craftivism Challenge - Knit HeartScarf Pattern

Let's practice our knitting skills some more, and learn something new...

You will need about 3 balls of Lion Brand Hometown Yarn (or similar super bulky yarn) in red.  Just make sure your bulky yarn is red for the HeartScarf project.  Lion Brand has Tampa Spice or Cincinatti Red in the Hometown.  Red Heart has Red Heart Chunky in Berry Breeze (which appears to be reds and hot pinks on the screen).  I am using a red super bulky which was donated to me by a friend, and the amount is approximately 8 ounces.  You can also hold together 2 strands of worsted weight yarn in red.

You will also need chunky size needles.  Mine are 17's.  I think you could use anything size 13 or above.

So let's start with the basics.  Start by casting on 12.

So the pattern goes like this:
Row 1 (and all odd rows):  Knit across
Row 2 (and all even rows):  K2, p8, k2.  The k2's on each row keep your scarf from curling in on itself.

This pattern (knit one row, purl one row) is called stockinette stitch.  This produces the texture we usually associate with a knit item.  The Special Olympics Scarf we made in November and the dishcloth we made in December are all knit.  This is called garter stitch.  If you ever see these terms in a pattern in the future, you'll know what the designer has intended.  Let me show you a couple samples so you can see what I mean.

This is the back of my scarf (in progress).  It has all the loops/bumps.  This is what garter stitch looks like on both sides.

This is the front of my scarf (in progress).  It has the smooth columns of v's.  This is what stockinette stitch looks like.

Did you catch my crazy trick?  I have made projects in stockinette stitch in the past.  While making them, I would {NEVER} be interruped and then, of course, would {NEVER} forget whether I was knitting or purling.  NEVER - HA!  So, I find a way to mark one of my needles to represent the purl.  In this case, I happen to have 2 sets of size 17's in 2 different colors.  I use the purple for the purl.  You can put a piece of painters' tape or masking tape on the head of your needle, mark a plastic needle with a Sharpie, whatever works for you.

Continue knitting and purling until desired length (60"), knit one row and bind off.

Now, one of the neat things about stockinette stitch is that you can use the v's to do cross-stitch on.  You can stitch on stripes, or shapes (like a heart), or a monogram.  That's if you want to.  I chose not to do that this time.  By the way, if you want the LOOK of argyle (you know, all those really cool diamonds with the intersecting lines), but don't want to try to knit it - think cross-stitch!

If you'd like a fancier border, you can crochet around the edges (like we did for our cup cozy).

Add fringe if you want to. You could use a thinner/lighter weight red for the fringe.

If you need a practical present in a hurry, these are GREAT!  Make a bunch in different colors for all your friends and relations.  Or, make a bunch, then stitch them together to make a nice throw.  Use the basic stockinette pattern with a longer chain to make a baby afghan.  Use smaller needles and lighter yarn or use multiple strands of yarn and Speed Stix (size 50's).

Next weekend, I'll have a linky up again, so we can link to each others' projects.  Come back and link up!

Have fun knitting!


Photobucket

Tuesday, January 31, 2012

Tea for Tuesday - Crochet Tea Cozy Tutorial

Today we're learning how to decrease for crochet, and start a really cute flower basket-type tea cozy...


The pattern we will be using is from Cute & Easy Crochet by Nicki Tench, and it starts on p. 92.  If you don't already own this book, you should pick it up.  I got mine at JoAnn's with a 40% off coupon, and I used my teacher discount.  I'm sure you can find it online as well.  There are lots and lots of really simple patterns in it, they are are all meant to be quick and easy, and yes, they are all quite adorable.  Many of the patterns call for little bits and bobs of color, so they are a great way to use up stash yarn.

So let's get started...

You can use the yarn the pattern calls for, or something of a similar weight.  I don't have wool yarn (I'm allergic), so I used two strands of regular worsted weight acrylic in a white and a pale blue.  I will also be using yarn from my stash for the roses and the leaves that are stitched onto the "basket".

For the two colors of the base, make 2 balls of yarn because you will be working with two strands throughout.  Choose one color to be the "basket" and the other to be the "filler" behind the roses.  You can use your stash to make the flowers as in the picture in the book, you can make them all one color, you can make them shades of the same color - use your imagination!

You will also need size F(5/4mm) and J(10/6mm) hooks, safety pins, and a yarn needle.

Today, we're just going to work on the base of the tea cozy.  I know you're busy, and don't have a lot of time, so we're going to break this down into some evening-size, manageable pieces.  We're also going to notch up your crochet skills a bit by learning to decrease and change color.  Next week, we'll learn some new stitches - don't worry, they're very easy.

With whatever color you choose to be the base of your tea cozy (now referred to as color A) and two strands of yarn, chain 29 with the J hook.  Measure to see if this will go round your tea pot.  Twenty-nine was fine for my tea pot.  Yours may be smaller or larger.  Feel free to add chains or make fewer chains.  Then, following the pattern, sc in second ch from hook, and each ch across.  Ch 1, turn.  Work rows back and forth until piece measures 2 1/2" (6.5 cm).  For me, this was 8 rows.  For you it may not be.  The important thing is to keep your tension even to be sure your stitches are all nice and even.  Ch1, turn.


Here is where we work the decrease.  Basically, a decrease is combining two stitches into one.  Yep, it's really that easy - let me show you.  Insert your hook into the first stitch and pull up a loop.

Just keep that loop on your hook for a moment - we're not doing anything with it quite yet.  Insert your hook into the next stitch and pull up another loop.

Now, the final step:  yo, and pull through all 3 loops on your hook.  See how it combines the two stitches into one?
Continue across the row in sc, until the last 2 stitches, then work another decrease.  It will look like this:
And here is where we will work the color change.  Go ahead and ch 1, like you are going to turn.
Pull on the loop, to make a very large loop.

Snip the top of the loop with scissors.
Remove the ends that are attached to the balls of yarn, and pull the ends on your piece tight.

To add the new color, insert your hook into the chain space.  Pull up a loop of Color B.
Ch 1 with color B, turn, and continue to work the pattern as directed in the book.  Be sure to keep your ends on the wrong side (back) of your piece, and crochet over them to work them in.  When you get to the top of the base, it will look like this:
Now, make one more, so you have 2.  Hold one of them up against your tea pot (I used my little kettle), and mark where your openings will be for the handle and spout with safety pins.
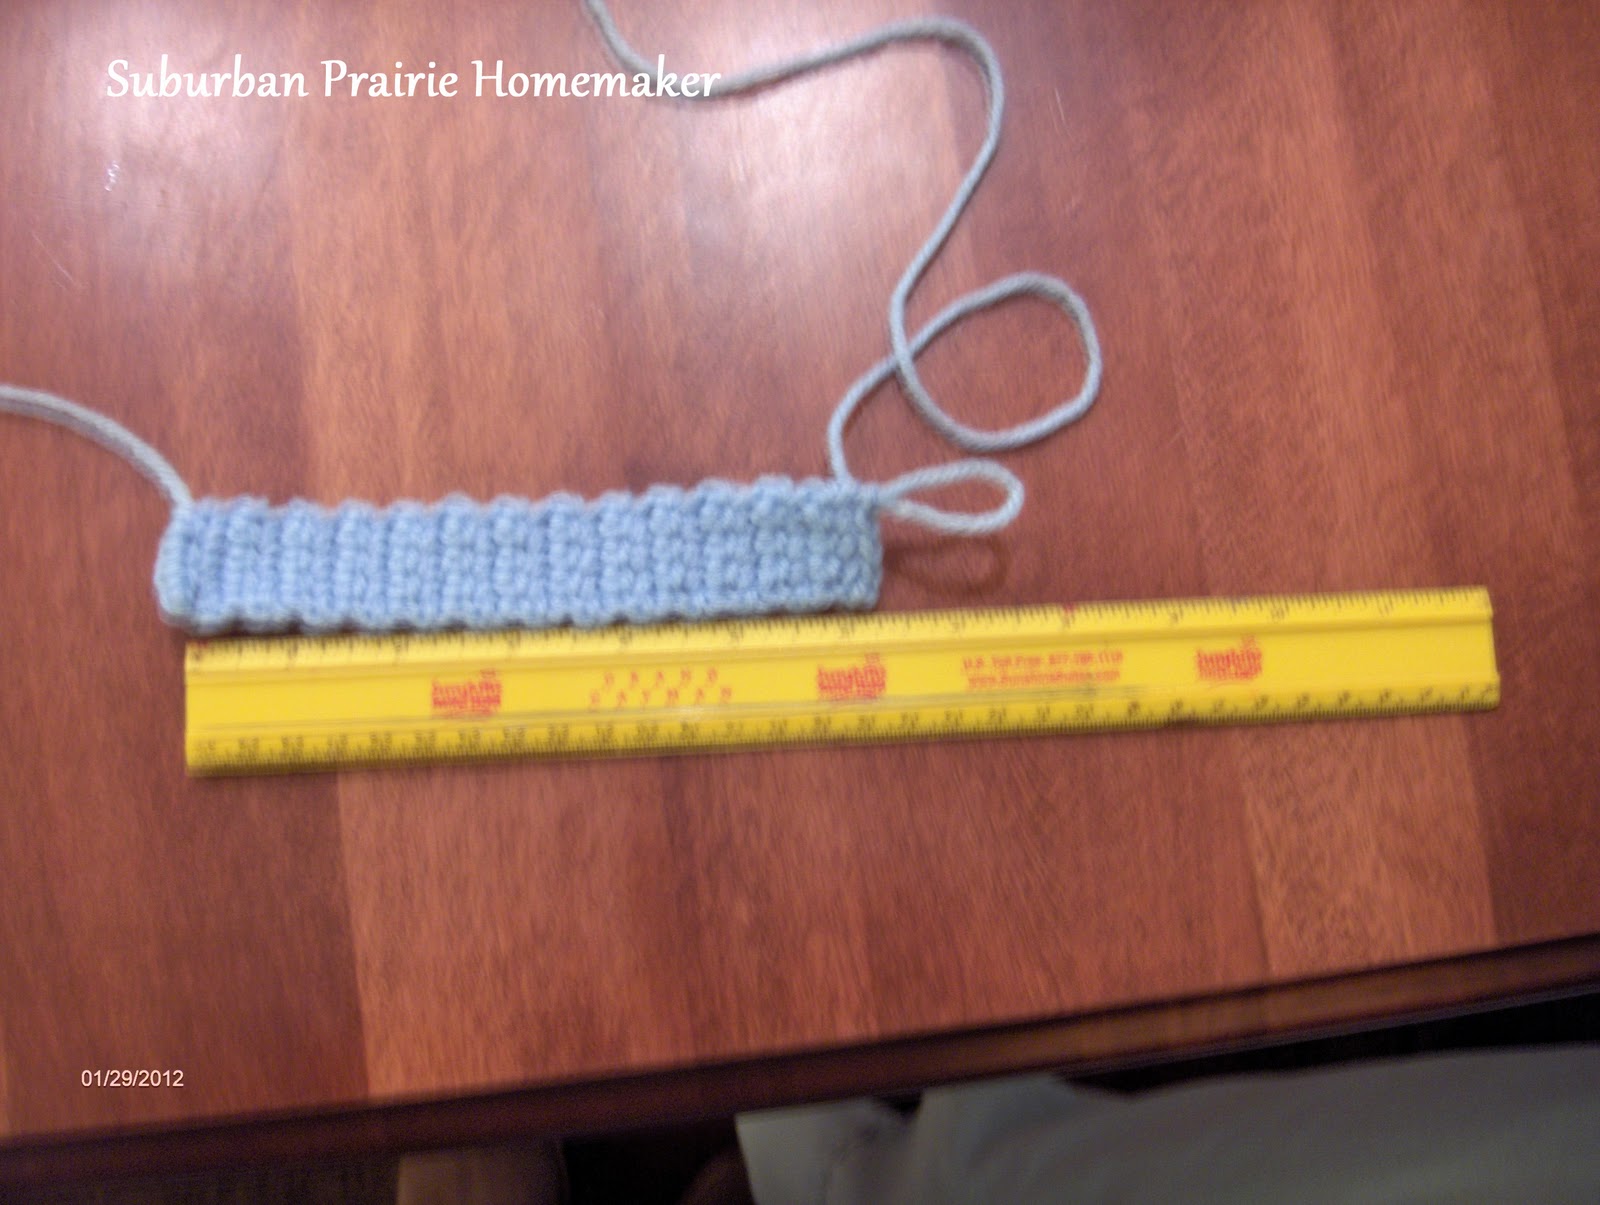
The last part of today's tutorial will be the little tab at the top.  You will only use one strand of yarn, in color B, and the size F hook.  Very simple - make a chain of 5 stitches, sc in 2nd ch from hook and across, to make 4 stitches. Ch 1, turn, and continue back and forth until your tab is 6" long (approx. 15cm).

And that's where we'll stop for now.  We'll make the flowers and get the whole thing put together next Tuesday.  Also, tomorrow, I'll be starting a ***FANTASTIC GIVEAWAY***!
Photobucket