Showing posts with label crochet. Show all posts

Wednesday, September 25, 2013

Anthro Inspired Skirt Tutorial

So here's the tutorial I promised...

To refresh everyone's memory, I found this late last fall, and said "I HAVE to make one!"  She is beautiful, no?!


This is the piece I entered back in February for Creative Bloggers Got Talent, and today I'm going to show you how to make one for yourself.

I bought a pattern for $1.65 (on sale and with teacher discount), made a base template from muslin (leftover from another project - you could use a repurposed bed sheet), and repurposed denim from blue jeans.  I think I paid more for the zipper than anything else!


Photobucket

Monday, April 9, 2012

How to Follow a Crochet Chart

Learning a new way to read a crochet pattern today!


One of the hottest trends in crochet today is Japanese crochet.  Japanese crochet is the same as "regular" crochet, except it is all done from a chart.  The written pattern is almost always excluded.

Now if you are new to crochet and pattern reading (we've been learning to read a pattern while learning to crochet here on the blog if you'd like to learn too - just do a search for crochet in the sidebar), don't panic.  It will look really scary, but actually it is EASY.

Yep, easy.  Really.

Here is the chart of crochet symbols from the Craft Yarn Council of America.  When you pull up the chart, you'll see x's and T's and hooky looking things.  These symbols each represent a specific stitch.  The cool part about the chart is that these symbols actually LOOK like the stitches.

And this is what makes working from a chart easier, especially if you struggle with reading a pattern.  The chart basically shows you what your end product will look like.  If you know what it's supposed to look like, it's easier to follow along and to catch mistakes.

So let's give it a try!


Here's a simple flower I found on a blog hop.  It's from an adorable site, LeMonde de Sucrette.  She has all kinds of fun crochet stuff, so be sure to go back to her blog and check all the goodness out!

Click the link above, and print the chart.  Grab a hook and yarn - whatever size you like to work with.  Here we go!

You'll notice that the chart doesn't have a beginning chain.  You can start crocheting this way, and I'll be glad to show you how another time.  Today, we're going to start with chain 4.

We are also going to do double crochets (dc) instead of trebles.  Make 11 dc in the 4th ch from hook.  Join with sl st in top ch of beginning ch 3.  This will make the inside circle, just like we did for the flower mug mat.   On the chart, this round is blue.  It looks like this:

Can you see how the double crochets look kind of like a T with a line through it?

Round 2 is in red.  Ch 3 and dc in same stitch.  2 dc in each stitch around.  Join with sl st in top ch of beginning chain.  Like this:


Round 3 is in green.  It's the shells that make the petals.  Start with a ch 3, and make 4 dc in the same stitch. This is your first shell.

(Skip one stitch, and sc in the next stitch.  Skip one stitch, make 7 dc in the next stitch) 5 times.  You now have 6 shell petals.  Skip one stitch, sc in the next, and join to the top ch of the beginning ch 3.  Fasten off - you're done!

The especially cool part about using a chart really comes into play in that last round.  You can see how Sucrette skipped a stitch, just by looking at where she placed the x that represents a single crochet.

So make a bunch of these in all sorts of colors, with all kinds of yarn or even crochet thread.  This is very similar to the small flowers I used on the Anthro Inspired skirt.  I used a G hook and cotton crochet yarn.  Sew them on skirts and other items for little girls, purses and bags for little girls.  Crochet a bunch out of crochet thread and stitch them together to make a doily for Mother's Day.  Make a long crochet chain, then attach these to the chain for a cute spring banner.  And of course you can play with the flower design itself.  Skip round 2 to make it smaller.  Add a third round of dc's to make it bigger.  Use fewer dc's to make the petals smaller.  Stack your shells to make it ruffly.  Using trebles, like in Sucrette's original design, will also make your circle bigger.  Use sc's to make it smaller.  Change colors after each round - a great way to use up those really tiny oddments of yarn in your stash!

Have fun!


Photobucket

Tuesday, March 27, 2012

Tea for Tuesday - Flower Mug Mat Tutorial

Good morning, all!  So nice to see all your bright, happy faces today!  As promised, today we've got a tutorial for part of the Anthro-inspired quilt.  We'll be crocheting, so grab a hook and some yarn - here we go!


This is what we're making today.  Something nice and cheery for spring.  The pattern we'll be doing is based on the one I created for the big flower on the skirt.
You'll notice that the edges of the white flower are kind of ruffly compared to the yellow flower.  I'll explain how to do both in just a bit.

But first - you need a size G crochet hook and some cotton worsted weight yarn.  Your choice of either one or two colors.  We'll go over how to do it both ways.

Ready?

Here's a reminder of the abbreviations (these are US abbreviations):
ch = chain
sl st = slip stitch
sk = skip
sc = single crochet
dc = double crochet
tr = treble crochet
Rnd = round (this one is new today)

If you just started crocheting with us back in January, look how much you've learned so far!  Aren't you so clever!  You'll also notice a new abbreviation up there - rnd for round instead of row.  We're crocheting in the round today - something new.  Don't worry, it's really not hard.

Start with ch 2, and make 6 sc in second ch from hook.  Yes, they will all fit.  You just have to slide the stitches over within the hole with your fingers.  When you've got them all squished in, join with a sl st to the top of the first sc.  You've now just made a circle.

Rnd 1:   2 sc in each sc around (12 sc's)

By the way, 2 sc (or any other stitch for that matter) into a stitch is an increase (abbreviated inc).  If you see that in another pattern, now you will know what you are looking at.  As your circle increases in size, you have to accommodate that with increases in the number of stitches.

Rnd 2:  Ch1.  *2 sc, then 1 sc in next stitch* around.  In plain English, Make 2 sc in the first stitch, then only 1 in the next stitch.  We've done repeats before, so just repeat what's between the two *'s all the way around. (18 sc).


Rnd 3:  Ch1.  *2 sc, then 1 sc in next 2 stitches* around. (24 sc).  Now we are spreading out the increases around the circle equally - think of it like blowing up a balloon.

I think you can see now where we are headed with this...
Rnd 4:  Ch 1. *2 sc, then sc in each of next 3 stitches* around (30 sc).
Rnd 5:  Ch 1. *2 sc, then sc in each of next 4 stitches* around (36 sc).
Rnd 6:  Ch 1.  *2 sc, then sc in each of next 5 stitches* around (42 sc).
Rnd 7:  Ch 1.  *2 sc, then sc in each of next 6 stithces* around (48 sc).

So here's where I'm letting you make a choice.  You can continue in the color you are using to make a flower that is one color (like the ivory one on the skirt), or you can fasten off and join a second color (like the sample photo above).  I'm also going to show you some petal variations, so you may want to read all the way through before doing any more stitching.

This first petal variation is what's on the skirt.  It makes the ruffly petals.
Start with a ch 3.  Work 4 dc in same stitch. Sc in next stitch.  *5 dc in next stitch, sc in following stitch* around.  You'll recognize this type of shell from our butterfly yesterday.  The shell is what makes the petals.  Also, by putting the shells so close together, that's what gives us the ruffles.
You can see in the photo how they curl.  We used this to our advantage on our butterfly.

For flat petals, the pattern is pretty similar.
Start with a ch 3 and 4 dc in the same stitch.  *sk 1, sc, sk 1, 5 dc* around.  By skipping a stitch, you spread the base of the shells out more evenly, which keeps them flat.

For bigger petals, which is what I have in the sample mug mat, make your shells using treble crochets.
Start with ch 4 (remember tr's are taller so you need that extra ch to reach the top) and 4 tr in the same stitch. *sk 1, sc, sk 1, 5 tr* around.

When I was working this sample up, I really liked the bigger petals for the mug mat.  When I was making my skirt, I was in more of a hurry, and I wanted that little something more, so I just went with the smaller petals. No matter which way you choose, it will be fine.

So how about some more variations?  Make your center smaller by doing fewer rounds and/or a smaller hook.  Make it bigger by doing more rounds (remember to add 1 sc in each section like we did above).  You can also make it bigger by using double crochets or even treble crochets.  Make a bunch of the centers and use them for hexagons to make an afghan (think Grandma's Flower Garden quilt pattern).  Make a bunch of flowers and stitch them together for a little girl's afghan.  Make them all one color, or all different colors to use up your stash.  For an afghan, I would highly suggest using acrylic yarn instead of the cotton.  And speaking of a different yarn, make these with a steel hook and size 10 crochet cotton.  Stitch them together for a doily or table runner.

I hope you're enjoying making the projects, but most importantly I hope you're learning that no pattern is set in stone.  Feel free to explore different yarns and hook sizes.  Play with the pattern to make it an expression of your own creative vision.

So grab your hook and some yarn and go play!  Have a great day!

Photobucket

Sunday, March 25, 2012

Crocheted Butterflies

Another beautiful butterfly for The Butterfly Project!


One of the joys of doing the blog-hops is finding the real gems.  The day I found this one, I actually was praying about some other variations on a butterfly that we could do for the Craftivism Challenge.  And there she was, my beautiful creative angel, Marie.  You DEFINITELY need to check out her blog - she has all kinds of really amazing patterns, including several butterflies!  This is the pattern she wrote down for our butterfly, in UK crochet terminology.  And here's my tip if you are a crocheter in the US.  Copy, paste, find, replace.  Yes, it's a mnemonic.  Mnemonics make life easy.  Copy the pattern, paste it into a word processing program, find the UK terms and replace them with US terms.  Seems simple enough, right?  It is.

For the little beauty above, I copied the pattern from Marie's blog and pasted it into Word.  I also took out most of the photos, because I just needed a photo of the finished product to gauge my progress.  I clicked the "replace" button (which automatically finds and replaces), and started with the abbreviations.  I substituted sc for dc, then dc for tr.  Then I substituted for the words for these symbols (single crochet, double crochet).  In three easy steps I converted this fantastic little pattern into my own crochet language.

So let me share with you how I made my butterfly from Marie's pattern.  If you click through, you'll see how to start a pattern with a "magic chain".  Since I know we have several beginners, we'll start with what we already know from our own projects here.  If you want to give the magic chain a go, feel free.  It's not that difficult (or at least not as hard as most people think it is).  And once you learn it, it's another tool in your crochet tool belt.  In this case, I chose to do the chain option.

I used a worsted weight acrylic yarn with a J hook.  Marie used a sock weight yarn with a 1.75 mm hook.  You can make these with any size hook and yarn your heart desires.  When you check out her pattern, you can see that with a smaller hook and finer yarn, the butterflies develop a very lacy quality.  And before I forget, a yarn needle is a must!

Here we go!

Chain 6.

Insert hook into the very first chain.

Yarn over (yo), and pull that loop straight through the chain on your hook.  You just made a slip stitch (sl st).  And you made a ring.

If you feel confident reading the pattern from here on out, go for it.  If you've played along at home, you know how to read all the abbreviations.  Aren't you proud of yourself?!  One of the biggest hangups people have about crocheting and knitting is reading a pattern, and you can do it.  You are a crocheter - hear you roar!  If you're feeling a little less than confident (it is Monday, after all), we'll start together on round 1.

Chain (ch) 3.  Make 2 double crochet (dc).  This makes the first of 8 clusters that will go in this ring.  Instead of inserting your hook into the chain itself, insert it into the open circle part of the ring.  When you are done with those 2 dc, ch 2.  This will act as your space between these clusters.  3 dc, ch 2 around until you have 8 clusters total.  This is what it looks like going from cluster 1, which starts with the chain 3, and ending with cluster 2, which is a 3 dc cluster.
Two down, 6 to go.  Remember to do the ch 2 in between each of the clusters.  End with a ch 2, and sl st into the top of that first ch 3.
On to round 2.  This is my little variation here.  When you make the ch 3 to start round 2, turn.  Yep, turn.  Most of the time, when you work in rounds, you work continuously in one direction.  I found things worked better if I turned at the beginning of the round.

For round 2, you are now going to turn those clusters into shells, which will double the number of stitches.  This will also make your piece get ruffly.  Ruffly is good.  Ruffly will get your piece to fold in half when you are done to make that gorgeous butterfly.  By the way, you'll get ruffly any time you double the number of stitches from one row to the next, whether it's in the round or straight, sc, dc or something fancier.  Just be aware.  So here's the start of row 2 so you can see how the 3 dc, ch 2 works up into the shells.
In the first ch 2 space, after you've done ch 3, turn, make 2 dc.  Ch 2, 3 dc.  Ch 2, then make what I call the shell:  3 dc, ch 2, 3 dc.  Make one shell in each of the ch 2 spaces in round one, and connect them with a ch 2.  You should then have 16 (3 dc) clusters.  When you get all the way around, ch 2 and sl st into the top of your original ch 3.
See the ruffliness I was telling you about?

And guess what you'll do next?  You're right - ch 3, turn!  You are getting so good at this - you are thinking like a crocheter!  Woo Hoo!

Let's finish up round 3.  After you ch 3 turn, work 7 dc in the next ch 2 space.  No ch 2's this round - nope. These are going to be another variation on a shell, with many dc's worked into one space, and then anchored in the following (or other designated) space.  When you've made your first shell (your turning chain and the 7 dc), sc in the next ch 2 space.  Marie used sl st.  Use whichever works best for you.  Just don't use anything bigger than an sc, ok.  Size does matter in some cases.  This is the shell...
and this the anchor stitch (remember, I used a sc and Marie did sl st).

See how that stitch holds that last end in place and makes a firm foundation for the next shell?  So keep working the 8 dc in a ch 2 space, then a sl st/sc in the next ch 2 space, all the way around.  It will look something like this.
She really REALLY wants to fold up into a butterfly!  Finish off, and leave a loooooong tail.  You will be using this tail to sew the halves together.  Wrestle your ruffles, until you fold the flower shape in half, with the top half matching where the tail is at the bottom.  This is what I'm calling the front.
And this is the back.
I wove my yarn up through the center to the top, then wove it back down again.  I tried to keep my stitching as inconspicuous as possible.  That's one nice thing about the variegated (multi-color) yarns - they tend to hide within themselves pretty well.


I made a few overcast stitches through the tops of the dc's to secure it, then wove the end in on the underside between the wing sections.  Then, I trimmed it.

To make the antennae, I used a G hook, and chained 25.  Then I worked one row of sc back to the beginning and finished off.  Since I don't know how the museum intends to hang/mount the butterflies, I wanted to be sure the antennae had some stability to them.  Make sure to weave in the ends.
Cut a length of yarn about 18".  Thread the yarn needle with it, and keep the needle standing by.  Fold the antennae piece in half, matching the center to the center of the top of the butterfly.  Starting fron inside the wing, weave the needle/yarn through the back side of a few stitches, then bring it to the outside.  Go through the top loops of the antennae piece to attach it.
Continue working across, stitching where you can.  Try to keep your stitches as hidden as possible.  Big word for the day: unobtrusive.  Finish off when you get across the other side, leaving as much of the antennae free as you wish.  Be sure to weave in the ends on the underside of the wings, and trim.

Try making these with a size 10 crochet cotton and a 1.50 mm hook.  Make them with a bulky yarn and a P hook.  Make them with anything and everything in between, and don't forget to send them off to the museum!

And also, be sure to stop by Marie's blog and check out all her wonderful patterns.  I'm heading back there myself to find a few more butterflies.  Leave her a comment thanking her.

Have fun!

Photobucket

Thursday, March 22, 2012

Anthro Inspired Upcycled Denim Skirt Preview

 This is what I entered in Creative Bloggers Got Talent, and I thought you'd like to see it...

When I saw this one, I KNEW I had to make one!


I don't have a tutorial for this (yet), but I'll share with you some photos...

Here is the inspiration piece:


And here is the front of mine...
And the back...
And here is the fancy technical description of what you've been seeing:
This is a ladies' fitted skirt with set-on waistband, darts, set-in zipper and button closure.  Patchwork is created from upcycled denim jeans and some home dec fabric, set on a base/lining of muslin. It is accented with self-designed and crocheted flowers (made from cotton yarn) and decorative stitching.

I had so much fun putting this little number together, I'm going to do another one - this time I'm thinking denim and quilt fabric.  Maybe one with just quilt fabric.  Maybe both - you know me.  I'm also thinking about doing some of the crocheted trim.  I promise I really will make a tutorial for this!  I just wanted to share it with you, and whet your appetite.

Happy Friday, and have a great weekend!
Photobucket

Thursday, February 23, 2012

Tea for Tuesday - Crochet Tea Cozy Tutorial Wrap-Up

So let's take our flowers and our "basket" and put them together to make something useful...


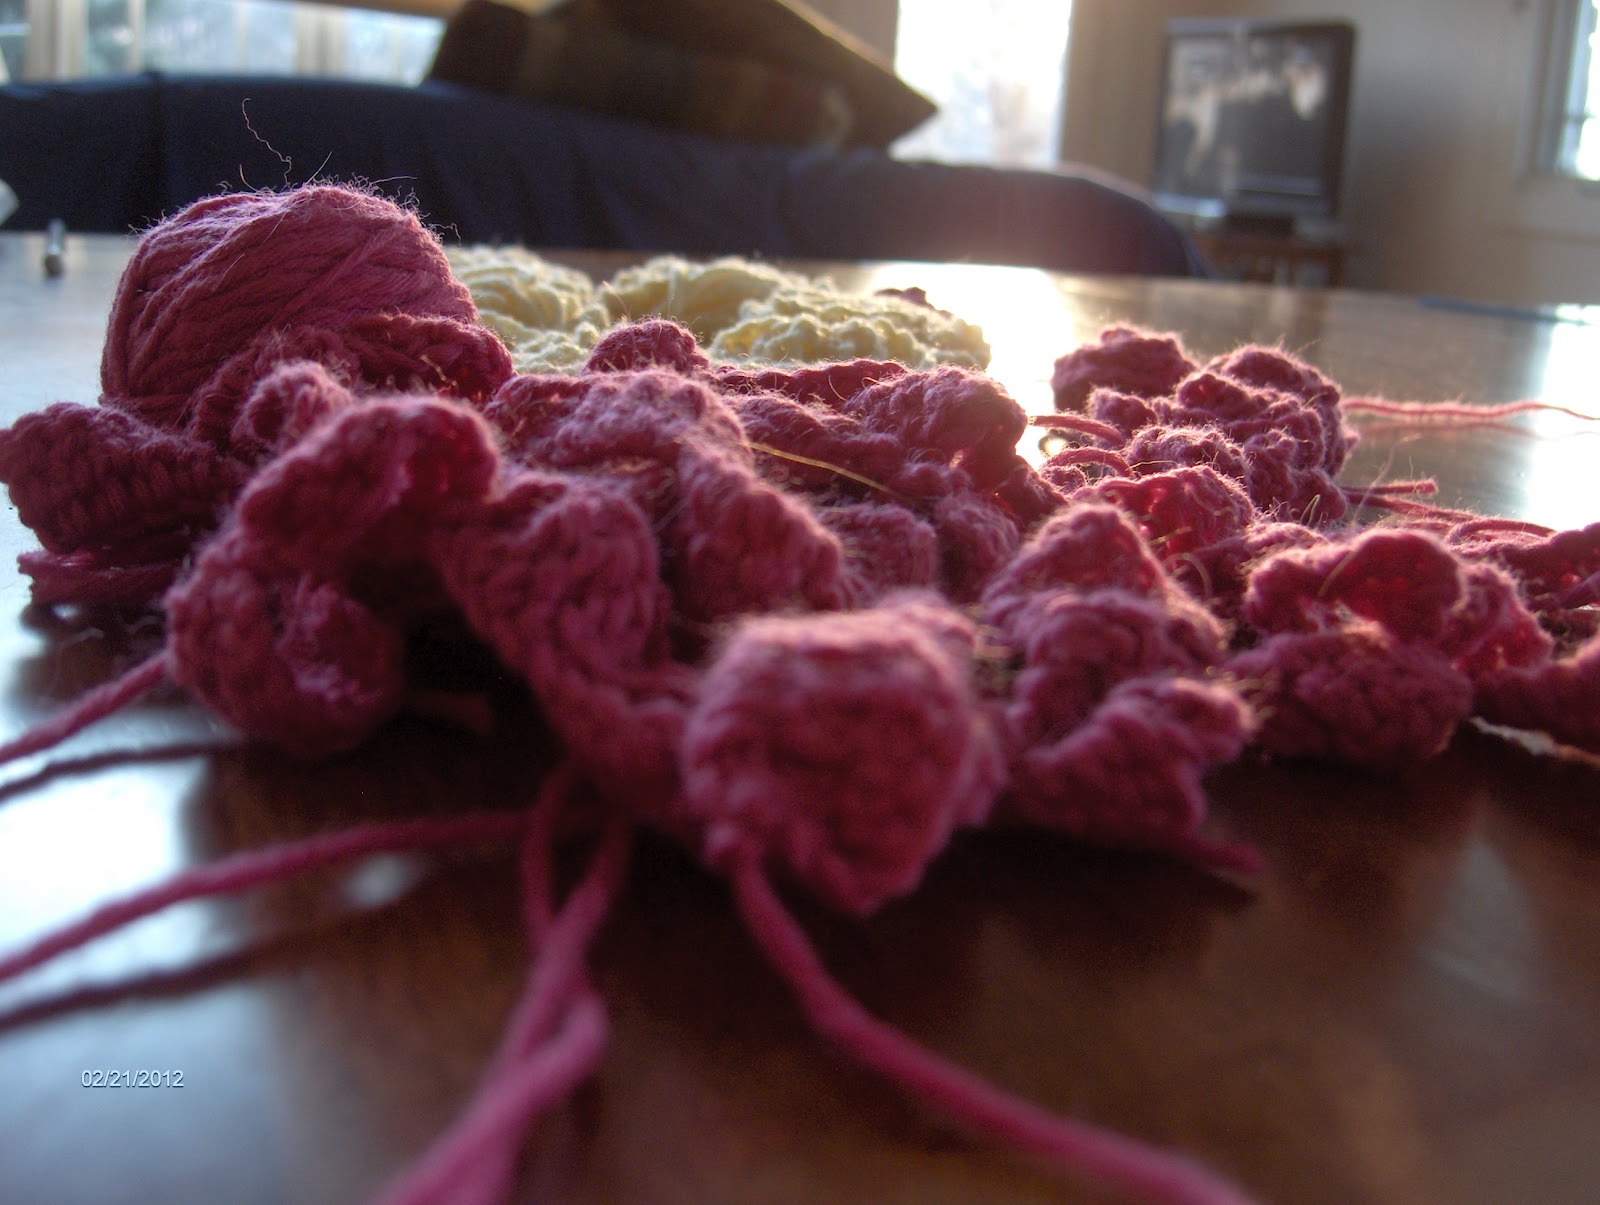
Had to share a really cool photo with you.  These are my flowers waiting to be stitched together, at sunset the other day (when the camera finally decided to start working again).

Let's get back to work on our tea cozy.  Go back to where we started so you can see the picture of the original, on the cover of the book we are using for our pattern.

And here's where I am going to differ somewhat from the pattern.  In the book, the pattern says to put your tea cozy together, then embroider your leaves and stitch on your flowers and the tab.  I have found for me, myself, personally, that it is so much easier to do this kind of thing when the base is flat.  Remember the hems on the pillowcases we used to make the Little Dresses?  They were way easier to press and stitch when the pillowcase was flat, rather than when it was in a tube.

To finish up, you will need some scrap green yarn from your stash, the same yarn you used to make your base pieces, a yarn needle, and scissors.

Choose one of the two blue and white "basket" pieces, and a small scrap ball of green yarn.  Cut off a good length of yarn, and thread your yarn needle.  Now this is a cool way to hide your ends while stitching either directly on a crocheted piece, or stitching something else to a crocheted piece (which we'll do in just a bit).  When you start your stitching, on the back side of the piece, use your yarn needle to pull the thread through a few of the stitches.  Just like you'd do if you were finished with something and wanted to hide that ending tail.

Here's how make a chain stitch to make the leaves.  Bring the needle up to the front side of the piece where you want the top of your leaf to be, then push the needle toward the back in the same hole.  Be sure to leave a loop like this.
To finish your leaf,  bring the needle up from the back again, towards the bottom of your loop.  Be sure to bring the needle THROUGH the loop.

Then, push the needle to the back again in the same hole, making sure that your yarn overlapped the original loop.
And this is what it looks like when you are done.
By working with bigger and smaller loops, and manipulating the yarn around the posts of the stitches, you can change up how your leaves appear.   Leaves in nature are like snowflakes, so your leaves can be individuals, too.  And remember, this is a visual interpretation of a leaf, so don't get too hung up on perfection.

Here's what it looks like when you have a few of them done.  Try to space them out somewhat evenly so they look balanced.
Work your way across this piece, then hide your end on the underside, just like we did at the beginning.  Do these same steps on the other blue and white piece.

Now this is where you can have some more creativity.  On one of your blue and white pieces, audition your roses.  You may be thinking "What?!"  Audition is a term that quilters and other crafters use when they are trying out (get it - an audition is a try-out?) different fabrics, fibers, etc. together to see how well they work.  If you followed the "How to Choose Fabrics" articles, and tried it for yourself, you were auditioning fabrics.
Here you can see the pink and green roses I made, and the pretty yellow ones that Princess made to help her mom.  Believe it or not, we both used worsted weight yarns, and the same size hook.  This is why, when you make a garment or something really big like an afghan, that gauge is so important.

While you are auditioning, you may decide that you want to add a color, rearrange your roses so they look more like a flower arrangement, or have other ideas.  This is the time to do it - before you start sewing and stitching.  We decided that even with 2 different colors of the green, the pink and yellow needed something more, so I added a dark purple.

If you need to, make a sketch of where you want everything to go.  Then, it's time to start stitching again.  Use the long tails of yarn on the roses to attach them to the base.  When I did mine, after I hid the beginning end under a few stitches, I made a simple knot, just to be sure that the weight of the flower didn't pull out my sewing when the tea cozy was vertical on a tea pot.  Stitch your roses on however works best for you.  I ended up using quite a few different ways, so use whatever works.  This is what mine looked like when I was done sewing on the flowers.
Repeat on the other side.

Let's stitch on the tab, too.  Using a double strand of yarn, thread the cut ends through the eye of your yarn needle.  Like this:
See how this makes a loop on the end?  We are going to put that loop to good use!

Fold your tab in half, wrong (back) sides facing.  Match the ends to the center of one of the base pieces for the tea cozy.  Insert the needle through the first stitch, and pull the yarn almost all the way through.

Hook the loop over your needle, and pull tight.


Now you have a secure attachment.  I used a basic whip stitch (over and through - repeat) to secure my tab to the tea cozy, and I went through each hole twice, just to be sure.  When you are done, weave your ends in on the underside of the base, and cut your yarn.

Time to stitch everything together!  Yay!

In the book, Ms. Trench says to do this with right sides facing.  With the bulk that the roses add, it's pretty tricky.  I just held mine together, wrong sides facing, and right sides (front) out.  Again, we'll use just a basic whip stitch.  And again, cut a length of yarn that matches the bottom color of your base.  Thread the cut ends through the needle, just like we did for the tab.

Hold the base pieces together, and insert your needle through the bottom two stitches (one stitch on Side A and one stitch on Side B).  Secure with a loop, just like we did for the tab.  Whip stitch up the side to your first safety pin, working in the spaces between the rows of crocheting.  Do your best - it's not always easy to see where to stitch.  I stitched each space twice just for safety's sake.  Make a small knot, and thread your ends under stitches on the inside.

Now change your yarn to the top color.  Stitch around and across, from safety pin to safety pin.  If needed, use the safety pin from the bottom section to help hold your corner - I did.  Just remember where your openings for the handle and the spout are supposed to go.
safety pin helping to hold pieces together at corner

When stitching across the top by the tab, I found it helpful to stitch around the posts of the stitches.  Like where you would insert your crochet hook, instead of over the top.

Then just keep working your way around.  Remember to change colors when you get towards the bottom.

And here's what it looks like when you are all done.
I'm going to make some little white roses and use them to fill in the holes - kind of like baby's breath.  You can add more flowers to yours, too, if you want or need to.

This would make a lovely neighbor/MIL/SIL/teacher/scout leader gift!

Enjoy your new tea cozy!

Photobucket