Showing posts with label crocheting. Show all posts

Wednesday, September 25, 2013

Anthro Inspired Skirt Tutorial

So here's the tutorial I promised...

To refresh everyone's memory, I found this late last fall, and said "I HAVE to make one!"  She is beautiful, no?!


This is the piece I entered back in February for Creative Bloggers Got Talent, and today I'm going to show you how to make one for yourself.

I bought a pattern for $1.65 (on sale and with teacher discount), made a base template from muslin (leftover from another project - you could use a repurposed bed sheet), and repurposed denim from blue jeans.  I think I paid more for the zipper than anything else!


Photobucket

Monday, April 9, 2012

How to Follow a Crochet Chart

Learning a new way to read a crochet pattern today!


One of the hottest trends in crochet today is Japanese crochet.  Japanese crochet is the same as "regular" crochet, except it is all done from a chart.  The written pattern is almost always excluded.

Now if you are new to crochet and pattern reading (we've been learning to read a pattern while learning to crochet here on the blog if you'd like to learn too - just do a search for crochet in the sidebar), don't panic.  It will look really scary, but actually it is EASY.

Yep, easy.  Really.

Here is the chart of crochet symbols from the Craft Yarn Council of America.  When you pull up the chart, you'll see x's and T's and hooky looking things.  These symbols each represent a specific stitch.  The cool part about the chart is that these symbols actually LOOK like the stitches.

And this is what makes working from a chart easier, especially if you struggle with reading a pattern.  The chart basically shows you what your end product will look like.  If you know what it's supposed to look like, it's easier to follow along and to catch mistakes.

So let's give it a try!


Here's a simple flower I found on a blog hop.  It's from an adorable site, LeMonde de Sucrette.  She has all kinds of fun crochet stuff, so be sure to go back to her blog and check all the goodness out!

Click the link above, and print the chart.  Grab a hook and yarn - whatever size you like to work with.  Here we go!

You'll notice that the chart doesn't have a beginning chain.  You can start crocheting this way, and I'll be glad to show you how another time.  Today, we're going to start with chain 4.

We are also going to do double crochets (dc) instead of trebles.  Make 11 dc in the 4th ch from hook.  Join with sl st in top ch of beginning ch 3.  This will make the inside circle, just like we did for the flower mug mat.   On the chart, this round is blue.  It looks like this:

Can you see how the double crochets look kind of like a T with a line through it?

Round 2 is in red.  Ch 3 and dc in same stitch.  2 dc in each stitch around.  Join with sl st in top ch of beginning chain.  Like this:


Round 3 is in green.  It's the shells that make the petals.  Start with a ch 3, and make 4 dc in the same stitch. This is your first shell.

(Skip one stitch, and sc in the next stitch.  Skip one stitch, make 7 dc in the next stitch) 5 times.  You now have 6 shell petals.  Skip one stitch, sc in the next, and join to the top ch of the beginning ch 3.  Fasten off - you're done!

The especially cool part about using a chart really comes into play in that last round.  You can see how Sucrette skipped a stitch, just by looking at where she placed the x that represents a single crochet.

So make a bunch of these in all sorts of colors, with all kinds of yarn or even crochet thread.  This is very similar to the small flowers I used on the Anthro Inspired skirt.  I used a G hook and cotton crochet yarn.  Sew them on skirts and other items for little girls, purses and bags for little girls.  Crochet a bunch out of crochet thread and stitch them together to make a doily for Mother's Day.  Make a long crochet chain, then attach these to the chain for a cute spring banner.  And of course you can play with the flower design itself.  Skip round 2 to make it smaller.  Add a third round of dc's to make it bigger.  Use fewer dc's to make the petals smaller.  Stack your shells to make it ruffly.  Using trebles, like in Sucrette's original design, will also make your circle bigger.  Use sc's to make it smaller.  Change colors after each round - a great way to use up those really tiny oddments of yarn in your stash!

Have fun!


Photobucket

Tuesday, March 27, 2012

Tea for Tuesday - Flower Mug Mat Tutorial

Good morning, all!  So nice to see all your bright, happy faces today!  As promised, today we've got a tutorial for part of the Anthro-inspired quilt.  We'll be crocheting, so grab a hook and some yarn - here we go!


This is what we're making today.  Something nice and cheery for spring.  The pattern we'll be doing is based on the one I created for the big flower on the skirt.
You'll notice that the edges of the white flower are kind of ruffly compared to the yellow flower.  I'll explain how to do both in just a bit.

But first - you need a size G crochet hook and some cotton worsted weight yarn.  Your choice of either one or two colors.  We'll go over how to do it both ways.

Ready?

Here's a reminder of the abbreviations (these are US abbreviations):
ch = chain
sl st = slip stitch
sk = skip
sc = single crochet
dc = double crochet
tr = treble crochet
Rnd = round (this one is new today)

If you just started crocheting with us back in January, look how much you've learned so far!  Aren't you so clever!  You'll also notice a new abbreviation up there - rnd for round instead of row.  We're crocheting in the round today - something new.  Don't worry, it's really not hard.

Start with ch 2, and make 6 sc in second ch from hook.  Yes, they will all fit.  You just have to slide the stitches over within the hole with your fingers.  When you've got them all squished in, join with a sl st to the top of the first sc.  You've now just made a circle.

Rnd 1:   2 sc in each sc around (12 sc's)

By the way, 2 sc (or any other stitch for that matter) into a stitch is an increase (abbreviated inc).  If you see that in another pattern, now you will know what you are looking at.  As your circle increases in size, you have to accommodate that with increases in the number of stitches.

Rnd 2:  Ch1.  *2 sc, then 1 sc in next stitch* around.  In plain English, Make 2 sc in the first stitch, then only 1 in the next stitch.  We've done repeats before, so just repeat what's between the two *'s all the way around. (18 sc).


Rnd 3:  Ch1.  *2 sc, then 1 sc in next 2 stitches* around. (24 sc).  Now we are spreading out the increases around the circle equally - think of it like blowing up a balloon.

I think you can see now where we are headed with this...
Rnd 4:  Ch 1. *2 sc, then sc in each of next 3 stitches* around (30 sc).
Rnd 5:  Ch 1. *2 sc, then sc in each of next 4 stitches* around (36 sc).
Rnd 6:  Ch 1.  *2 sc, then sc in each of next 5 stitches* around (42 sc).
Rnd 7:  Ch 1.  *2 sc, then sc in each of next 6 stithces* around (48 sc).

So here's where I'm letting you make a choice.  You can continue in the color you are using to make a flower that is one color (like the ivory one on the skirt), or you can fasten off and join a second color (like the sample photo above).  I'm also going to show you some petal variations, so you may want to read all the way through before doing any more stitching.

This first petal variation is what's on the skirt.  It makes the ruffly petals.
Start with a ch 3.  Work 4 dc in same stitch. Sc in next stitch.  *5 dc in next stitch, sc in following stitch* around.  You'll recognize this type of shell from our butterfly yesterday.  The shell is what makes the petals.  Also, by putting the shells so close together, that's what gives us the ruffles.
You can see in the photo how they curl.  We used this to our advantage on our butterfly.

For flat petals, the pattern is pretty similar.
Start with a ch 3 and 4 dc in the same stitch.  *sk 1, sc, sk 1, 5 dc* around.  By skipping a stitch, you spread the base of the shells out more evenly, which keeps them flat.

For bigger petals, which is what I have in the sample mug mat, make your shells using treble crochets.
Start with ch 4 (remember tr's are taller so you need that extra ch to reach the top) and 4 tr in the same stitch. *sk 1, sc, sk 1, 5 tr* around.

When I was working this sample up, I really liked the bigger petals for the mug mat.  When I was making my skirt, I was in more of a hurry, and I wanted that little something more, so I just went with the smaller petals. No matter which way you choose, it will be fine.

So how about some more variations?  Make your center smaller by doing fewer rounds and/or a smaller hook.  Make it bigger by doing more rounds (remember to add 1 sc in each section like we did above).  You can also make it bigger by using double crochets or even treble crochets.  Make a bunch of the centers and use them for hexagons to make an afghan (think Grandma's Flower Garden quilt pattern).  Make a bunch of flowers and stitch them together for a little girl's afghan.  Make them all one color, or all different colors to use up your stash.  For an afghan, I would highly suggest using acrylic yarn instead of the cotton.  And speaking of a different yarn, make these with a steel hook and size 10 crochet cotton.  Stitch them together for a doily or table runner.

I hope you're enjoying making the projects, but most importantly I hope you're learning that no pattern is set in stone.  Feel free to explore different yarns and hook sizes.  Play with the pattern to make it an expression of your own creative vision.

So grab your hook and some yarn and go play!  Have a great day!

Photobucket

Sunday, March 25, 2012

Crocheted Butterflies

Another beautiful butterfly for The Butterfly Project!


One of the joys of doing the blog-hops is finding the real gems.  The day I found this one, I actually was praying about some other variations on a butterfly that we could do for the Craftivism Challenge.  And there she was, my beautiful creative angel, Marie.  You DEFINITELY need to check out her blog - she has all kinds of really amazing patterns, including several butterflies!  This is the pattern she wrote down for our butterfly, in UK crochet terminology.  And here's my tip if you are a crocheter in the US.  Copy, paste, find, replace.  Yes, it's a mnemonic.  Mnemonics make life easy.  Copy the pattern, paste it into a word processing program, find the UK terms and replace them with US terms.  Seems simple enough, right?  It is.

For the little beauty above, I copied the pattern from Marie's blog and pasted it into Word.  I also took out most of the photos, because I just needed a photo of the finished product to gauge my progress.  I clicked the "replace" button (which automatically finds and replaces), and started with the abbreviations.  I substituted sc for dc, then dc for tr.  Then I substituted for the words for these symbols (single crochet, double crochet).  In three easy steps I converted this fantastic little pattern into my own crochet language.

So let me share with you how I made my butterfly from Marie's pattern.  If you click through, you'll see how to start a pattern with a "magic chain".  Since I know we have several beginners, we'll start with what we already know from our own projects here.  If you want to give the magic chain a go, feel free.  It's not that difficult (or at least not as hard as most people think it is).  And once you learn it, it's another tool in your crochet tool belt.  In this case, I chose to do the chain option.

I used a worsted weight acrylic yarn with a J hook.  Marie used a sock weight yarn with a 1.75 mm hook.  You can make these with any size hook and yarn your heart desires.  When you check out her pattern, you can see that with a smaller hook and finer yarn, the butterflies develop a very lacy quality.  And before I forget, a yarn needle is a must!

Here we go!

Chain 6.

Insert hook into the very first chain.

Yarn over (yo), and pull that loop straight through the chain on your hook.  You just made a slip stitch (sl st).  And you made a ring.

If you feel confident reading the pattern from here on out, go for it.  If you've played along at home, you know how to read all the abbreviations.  Aren't you proud of yourself?!  One of the biggest hangups people have about crocheting and knitting is reading a pattern, and you can do it.  You are a crocheter - hear you roar!  If you're feeling a little less than confident (it is Monday, after all), we'll start together on round 1.

Chain (ch) 3.  Make 2 double crochet (dc).  This makes the first of 8 clusters that will go in this ring.  Instead of inserting your hook into the chain itself, insert it into the open circle part of the ring.  When you are done with those 2 dc, ch 2.  This will act as your space between these clusters.  3 dc, ch 2 around until you have 8 clusters total.  This is what it looks like going from cluster 1, which starts with the chain 3, and ending with cluster 2, which is a 3 dc cluster.
Two down, 6 to go.  Remember to do the ch 2 in between each of the clusters.  End with a ch 2, and sl st into the top of that first ch 3.
On to round 2.  This is my little variation here.  When you make the ch 3 to start round 2, turn.  Yep, turn.  Most of the time, when you work in rounds, you work continuously in one direction.  I found things worked better if I turned at the beginning of the round.

For round 2, you are now going to turn those clusters into shells, which will double the number of stitches.  This will also make your piece get ruffly.  Ruffly is good.  Ruffly will get your piece to fold in half when you are done to make that gorgeous butterfly.  By the way, you'll get ruffly any time you double the number of stitches from one row to the next, whether it's in the round or straight, sc, dc or something fancier.  Just be aware.  So here's the start of row 2 so you can see how the 3 dc, ch 2 works up into the shells.
In the first ch 2 space, after you've done ch 3, turn, make 2 dc.  Ch 2, 3 dc.  Ch 2, then make what I call the shell:  3 dc, ch 2, 3 dc.  Make one shell in each of the ch 2 spaces in round one, and connect them with a ch 2.  You should then have 16 (3 dc) clusters.  When you get all the way around, ch 2 and sl st into the top of your original ch 3.
See the ruffliness I was telling you about?

And guess what you'll do next?  You're right - ch 3, turn!  You are getting so good at this - you are thinking like a crocheter!  Woo Hoo!

Let's finish up round 3.  After you ch 3 turn, work 7 dc in the next ch 2 space.  No ch 2's this round - nope. These are going to be another variation on a shell, with many dc's worked into one space, and then anchored in the following (or other designated) space.  When you've made your first shell (your turning chain and the 7 dc), sc in the next ch 2 space.  Marie used sl st.  Use whichever works best for you.  Just don't use anything bigger than an sc, ok.  Size does matter in some cases.  This is the shell...
and this the anchor stitch (remember, I used a sc and Marie did sl st).

See how that stitch holds that last end in place and makes a firm foundation for the next shell?  So keep working the 8 dc in a ch 2 space, then a sl st/sc in the next ch 2 space, all the way around.  It will look something like this.
She really REALLY wants to fold up into a butterfly!  Finish off, and leave a loooooong tail.  You will be using this tail to sew the halves together.  Wrestle your ruffles, until you fold the flower shape in half, with the top half matching where the tail is at the bottom.  This is what I'm calling the front.
And this is the back.
I wove my yarn up through the center to the top, then wove it back down again.  I tried to keep my stitching as inconspicuous as possible.  That's one nice thing about the variegated (multi-color) yarns - they tend to hide within themselves pretty well.


I made a few overcast stitches through the tops of the dc's to secure it, then wove the end in on the underside between the wing sections.  Then, I trimmed it.

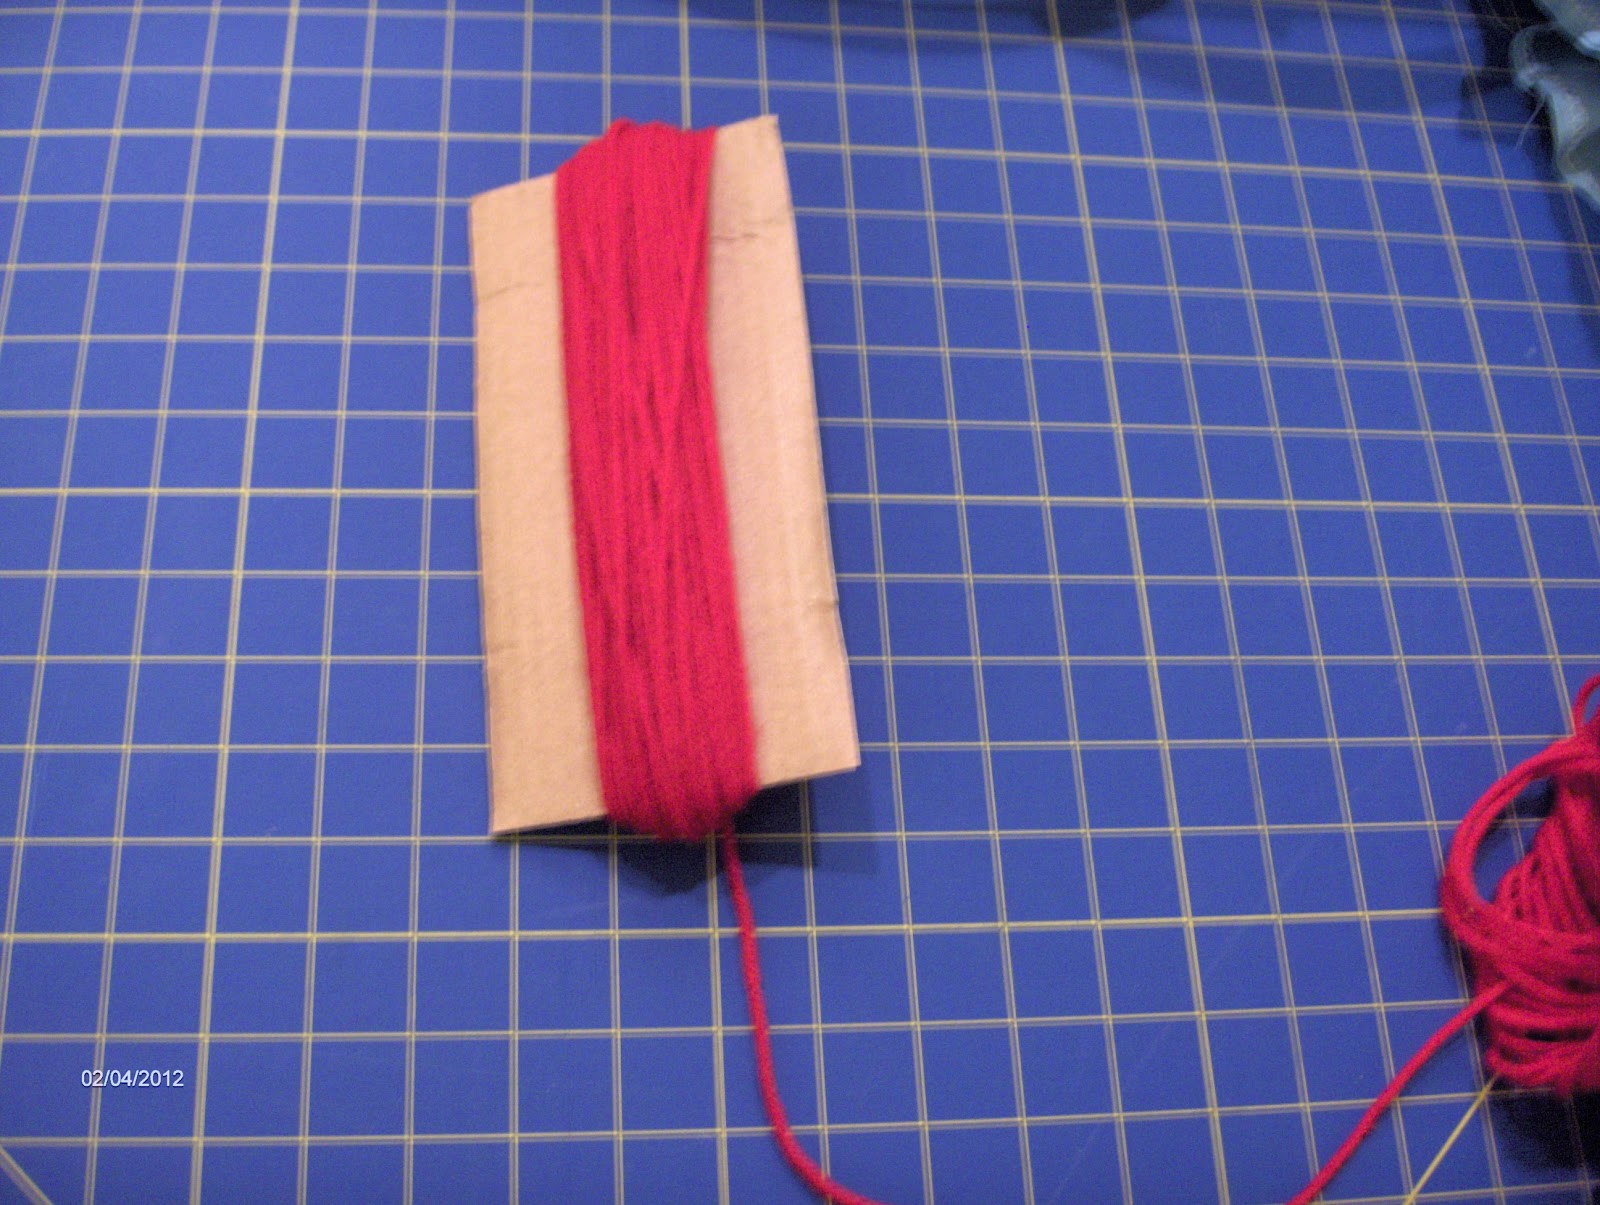
To make the antennae, I used a G hook, and chained 25.  Then I worked one row of sc back to the beginning and finished off.  Since I don't know how the museum intends to hang/mount the butterflies, I wanted to be sure the antennae had some stability to them.  Make sure to weave in the ends.
Cut a length of yarn about 18".  Thread the yarn needle with it, and keep the needle standing by.  Fold the antennae piece in half, matching the center to the center of the top of the butterfly.  Starting fron inside the wing, weave the needle/yarn through the back side of a few stitches, then bring it to the outside.  Go through the top loops of the antennae piece to attach it.
Continue working across, stitching where you can.  Try to keep your stitches as hidden as possible.  Big word for the day: unobtrusive.  Finish off when you get across the other side, leaving as much of the antennae free as you wish.  Be sure to weave in the ends on the underside of the wings, and trim.

Try making these with a size 10 crochet cotton and a 1.50 mm hook.  Make them with a bulky yarn and a P hook.  Make them with anything and everything in between, and don't forget to send them off to the museum!

And also, be sure to stop by Marie's blog and check out all her wonderful patterns.  I'm heading back there myself to find a few more butterflies.  Leave her a comment thanking her.

Have fun!

Photobucket

Thursday, March 22, 2012

Anthro Inspired Upcycled Denim Skirt Preview

 This is what I entered in Creative Bloggers Got Talent, and I thought you'd like to see it...

When I saw this one, I KNEW I had to make one!


I don't have a tutorial for this (yet), but I'll share with you some photos...

Here is the inspiration piece:


And here is the front of mine...
And the back...
And here is the fancy technical description of what you've been seeing:
This is a ladies' fitted skirt with set-on waistband, darts, set-in zipper and button closure.  Patchwork is created from upcycled denim jeans and some home dec fabric, set on a base/lining of muslin. It is accented with self-designed and crocheted flowers (made from cotton yarn) and decorative stitching.

I had so much fun putting this little number together, I'm going to do another one - this time I'm thinking denim and quilt fabric.  Maybe one with just quilt fabric.  Maybe both - you know me.  I'm also thinking about doing some of the crocheted trim.  I promise I really will make a tutorial for this!  I just wanted to share it with you, and whet your appetite.

Happy Friday, and have a great weekend!
Photobucket

Saturday, February 25, 2012

Craftivism Challenge Link-Up


Here we are already at the end of Feburary!  Time to show and share about your beautiful HeartScarves.  Remember, mail them to:

WomenHeart HeartScarves Program
c/o Big Show Fulfillment
1525 Gin Road
Gold Hill, NC 28071


Thanks again for all your efforts!


Photobucket

Sunday, February 5, 2012

February Craftivism Challenge - Crochet Heart Scarf Pattern and Tutorial

I am soooooo sorry this has taken sooooooo long to get posted!  Did you ever have a week where everything takes 3 times longer than usual, no matter what you do?  That's been the last 4 days of my life.  Hopefully, whatever's up with this time-warp issue has finally been resolved and is on its way OUT THE DOOR!


So as promised, here is the (small fanfare of trumpets) Crochet Heart Scarf Pattern!

Let's get started...

I used a 7-oz. Red Heart Super Saver (most of it), Cherry Red - you can use any acrylic worsted weight yarn you choose, as long as it's red.  I also used a size J (10/6mm) hook.


For our newbie crocheters, we're going to learn how to do a double crochet (dc) with this project.  Don't worry - it's just like I told you, every crochet stitch is just yarn overs and pull-up-a-loop-s.  We're also going to practice repeats within rows (usually written as * to *) and numbers of rows.

Start by chaining 202.

Row 1:  Sc in 2nd ch from hook and each ch across (201 sc).  Remember to hold the yarn tail behind your first few stitches to work it in.  Ch 3, turn.  Yes, 3 ch's.

Row 2:  That ch 3 acts like your first double crochet (dc) of this row.  So now you're going to dc for real.  Skip the stitch that's next to your chain (your chain is replacing this stitch). Yarn over.
Insert hook into next space.

Yarn over,

and pull up a loop, just like you do for single crochet.
 Yarn over again, and pull through 2 loops, just like single crochet.
Do it again.
Now you know why it's called double crochet - you basically make 2 single crochets right on top of each other.

Sc in next stitch. *Dc in next 2 stitches, sc*, rep from * to * across, ending with a sc.  Be extra careful with your counting.  I was talking and watching TV and interrupted and checking the computer.  There are sections of my test scarf that have as many as 5 dcs in a row.  Yeah, no fooling!  So the moral of the story is, you should have 201 stitches (counting the ch 3 as the first dc), and end with a sc.  Now, ch 3 and turn.  Here is a closeup of the pattern.


Row 3:  For this row, instead of doing BIG BIG small, we are going to do small small BIG, and here's how it goes.  Your ch 3 will act as the first dc.  Sc in the tops of the 2 dc in row 2, then dc in the sc in row 2.  Repeat across.  Make your final stitch in the top chain of your turning chain from Row 2.  It's just like making a stitch in your base chain.  After you make that stitch, ch 1, turn.  Make sure you have 201 stitches.

Row 4:  Sc across.  Ch 3, turn.  Do you have 201?

Repeat rows 2-4 four (4) more times.  When you get to the last sc of the final row, make 3 sc in that same stitch.  This will turn your corner.  Working as best you can, sc in ends of the previously worked rows.  You'll remember doing this from when we did the cup cozy.  When you are ready to make the last sc along the side, do 2 sc in the last stitch, and slip stitch to the end stitch on the base row.  Fasten off, and weave end into back of scarf.

Join with a slip stitch to opposite end (where your chain first began).  Sc in ends of rows up to the top row.  Work 2 sc in that final end, and join with a slip stitch.  Fasten off, and weave in the end to the back of scarf. Here is a close-up of the neat texture these alternating rows create.

Now, you have a perfectly lovely scarf.  But maybe you're a fringe girl, or you're thinking your scarf may end up in the hands of a fringe girl.  Not a problem.  We just learned how to do fringe when we made the mug mats.

Since this is fringe for a grown-up, it needs to be a little more substantial than just a single little strand of yarn.  We're going to use 2 strands.  We don't want to be all flashy - just a little fringy.  So let's start by counting the number of sc's you have on each end.  Hopefully you have the same number on each side.  If not, I won't tell.  There are no scarf police!  And I'm so sorry - I have to make you do math.  Take that number and multiply it by 2.  This will be how many fringe strands you need to make.

I made my fringe about 8" long.  I used this piece of cardboard, and wrapped my yarn around 72 times.  Then I cut the yarn at that bottom edge - ALL the strands of yarn.  It looked like this:
Part of me thinks this would make some pretty stylin' hair for a punk rock Raggedy Ann doll...

Insert your hook from front to back in the sc's on the ends.  You'll start at one end, then work toward the other.  So take two of those strands and loop them over the hook.  Pull this loop through the sc, then pull the ends through the loop.  Pull tight, and you have your first "fringe".  Repeat all the way across one end, then all the way across the other.  When you get all of them done, straighten them all out by combing through with your fingers.  Line the ends up with a ruler (I used my cutting mat), and trim them all even.

And there you have it!  The great thing about this pattern, and especially the length of this scarf - if you were to make it again, using several skeins of yarn, you'd have a really nice-sized, thick and warm afghan.  Do only 2 repeats for a skinny fashion scarf using a skein of really chunky yarn, and maybe a thin, variegated sock yarn.  Use a metallic yarn.  Play with the number of dc's and sc's - what will happen if you use 2 and 2 instead of 2 and 1?  What about 3 and 3?  What about 3 and 1?  Just so many ways to play!

Oh, and bonus!  Now that you can double crochet, you can make granny squares and you can make shell stitches.  We'll get into that more down the road.  For now, though, celebrate your new stitch and get ready for more fun!  Be proud of you!


Photobucket